Fencing Tips from Atlantic Cladding!
A hard job to complete that can be made far easier with a helping hand or two. We would suggest installing a fence early spring and late autumn so that your garden has time to recover and your current plants can be moved and replanted without too much harm done! Also worth noting that you should check before you start whether it is your fence or your neighbour’s. You can still build a new fence alongside an existing one as long as it is on your property.
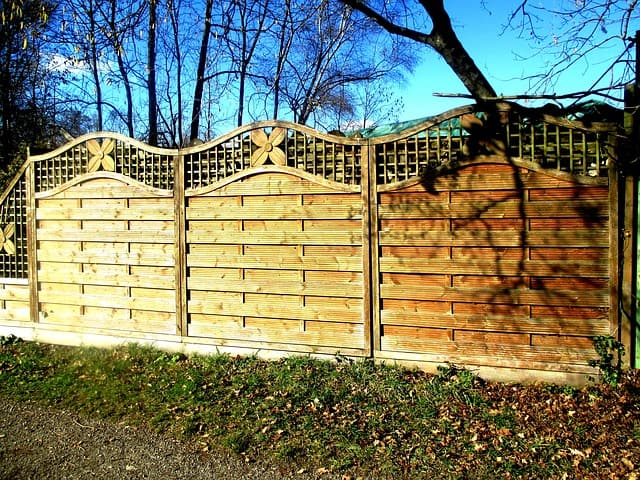
Here’s our guide for fixing up your fence using ready-made panels:
Marking and Digging Out Fence Post Holes
- Stretch a measuring tape or piece of string along the line of the fence and mark where each post is to be constructed. To calculate the distance, make sure to half the width of your fence posts and add this to the length of the panels to work out where to position the centre of the post.
- Dig the hole to at least 600mm as the standard for a 1.8m high fence but remember that softer soil will need a better and deeper foundation for the fence posts. Keep the hole around a spade’s width so there is enough space to fill with concrete and create a solid foundation.
- Rest the posts on temporary supports as you work down the line, eventually resting them on a builder’s line at the top and bottom of the post to ensure you are following the boundary correctly.
Securing Fence Posts
- Ensure that posts are vertical using a spirit level. Once happy, start filling the post holes to ground level with concrete.
- Finish the concrete surface so that it slopes downwards, away from the post so water will drain away.
- Finish off the post by securing the cap to the top.
How to Erect the Panel Fence
- To fix the panels in to the posts you can do this by either nails or fence clips. Fence clips are more secure by first being attached to the post then to the panel but are visible on the fence. If using nails, you need to look to secure at least six galvanised nails with equal distances between fixings covering the whole height of the post.
- Drill pilot holes in to the panel and check with a spirit level that the panel is level. Once happy, start drilling the clips or nails to the panel.
- Continue this for all of the panels using temporary supports to hold the panels as you move down the line.
We have a wide range of timber products available from Atlantic Cladding including fencing and accessories. Contact us to see what we have available and for any advice to help you with your fencing DIY!